
Creating Models Using Roblox Properties
In this lesson, you will learn how to shape custom objects in Roblox Studio by combining parts using the Union tool and removing sections using the Negate tool. These tools help you create complex structures such as doors, windows, roofs, and decorative shapes as you begin building your dream house.
Overview
Topics Introduced
- Combining parts using the Union property
- Removing overlapping sections using the Negate property
- Creating custom shapes by merging and cutting parts
- Using resizing, positioning, and overlapping to prepare parts for unionization
- Applying materials and colors to finish house components
Topics in Detail
1. What Is the Union Property?
The Union property allows you to combine two or more parts into a single object. You learn that once parts are unionized, they behave as one—they move, scale, and rotate together. By selecting multiple parts and choosing the Union tool, you can create more complex shapes than Roblox’s default building pieces allow.
2. What Is the Negate Property?
The Negate property lets you remove a section of one part using another part as the cutting shape. You learn that negating a part turns it red, marking it as the portion to be removed. When you union the negated shape with another part, Roblox cuts out that red section. This allows you to create holes, windows, doorways, and custom geometry.
3. What Is Preparing Parts for Union and Negation?
Preparing parts means resizing, rotating, and overlapping them properly so they create the intended shape. You learn how positioning determines which section gets removed during negation and how overlapping shapes allow for creative cutouts such as round windows, curved edges, and decorative openings.
4. What Is Using Union and Negate for House Building?
Building a house involves using these tools to design doors, windows, roofs, and walls. You learn how to combine a rectangle and a circle to create a unique window opening, or how to use wedges to form a roof. By unionizing and negating parts, you customize your structure with shapes that are impossible to achieve using simple blocks alone.
5. What Is Customizing Parts with Material and Color?
Customizing parts means choosing materials and colors that match your house’s theme. You learn how to set brick walls, marble floors, neon decorations, and wooden windows. Material and color add personality and realism to your build, allowing you to experiment with styles like rainbow, rustic, or futuristic themes.
Activity 1
Title: CONSTRUCTING THE DREAM HOUSE
Short description: In this activity, students will learn the concept of union and negate by constructing different elements of a house.
Solution: Step By Step Activity Explanation
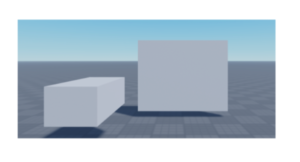
Let’s start by creating two parts.
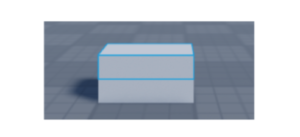
Now we will reposition and resize both the parts.
Next up, we position one part inside the other.
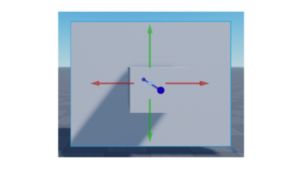
Now, we would like these two parts to be combined into one. To do that, we’ll use the Union Tool. Union means combining and that’s exactly what the union tool does.
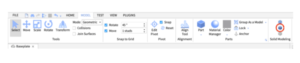
To use it, first select both the parts that you want to unionize.
Then go to the Model option in the toolbar and select the following icon of Union.
![]()
And done!
From now the two parts exist as one big part. They will scale together, position together and even rotate together.
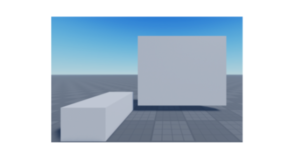
Now, let’s start by making another two parts.
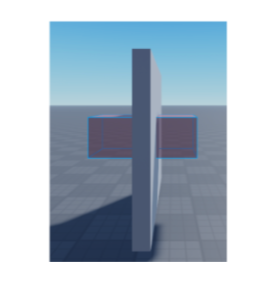
Like done previously, let’s overlap the two parts.
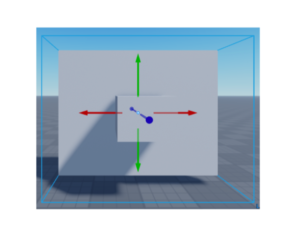
Now, we will use the option negate to get rid of the parts that are not overlapping.
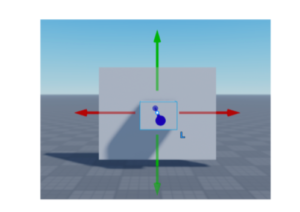
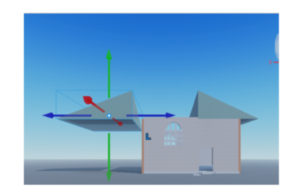
For that, first select the part from which you want to negate.
Now go to the toolbar menu and select the following icon for negation.
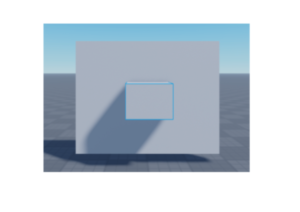
Once you click it, you’ll see the negated part i.e. the part that is not overlapping in red.
As the next step, you highlight both the parts and click union.
This will remove the negated part and unionize the rest as one whole part. Pretty easy, wasn’t it?
Now that you know how to unionize and negate parts, it’s time to build your own house! Don’t forget to add colors and material to make your house the best on the street! Let’s go!
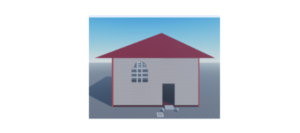
CONSTRUCTING THE DREAM HOME
Let’s start by creating the base i.e. the floor of the house.
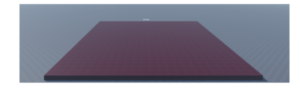
Choose the desired material and color of every part that you add.
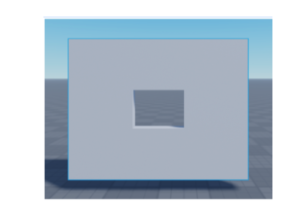
As the next step, we’ll build two opposite walls and then through unionizing and negating, we’ll build the doors and windows inside it.
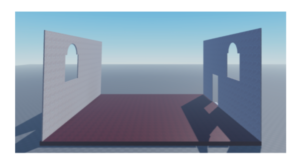
Did you happen to notice the unique shape of the window?

How do you think we created it?
By first unionizing a rectangle and a circle together and then negating it through our
wall!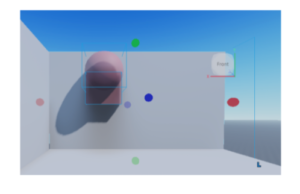
You can experiment with your own unique shapes and sizes.
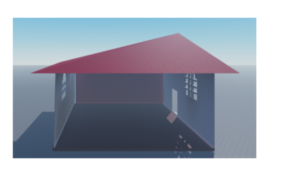
Next up, we make our roof. To do that, we take one wedge and place it on the roof. Then duplicate, rotate and place the second one adjoining the first once. Then unionize both.
Now that our roof is ready, time to build the next essential part of the house. The two walls. You can simply do it by adding two rectangular parts to both the sides.
Now, to add some fun elements, we have added a set of stairs and grills to the windows.
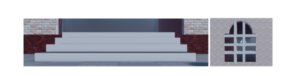
You can make your own version of the house – A rainbow themed one, a rustic themed one, a dark themed one… the options are endless!
You can also play around with the material by making marble material floors, brick material walls, wood material windows..and what not! Play on!!
Outcome
Learning Outcomes of Creating Models Using Roblox Properties
- Learned to combine parts into single objects using the Union tool.
- Applied the Negate tool to remove specific sections and create customized cutouts.
- Constructed house components by preparing, overlapping, and manipulating parts.
- Designed decorative shapes such as windows and roofs through unionized and negated structures.
- Enhanced builds using materials and colors to achieve creative visual themes.
Goal
To design a unique home by using scripts.
STEP 1: Adding a grassy baseplate.
First, go to explorer and delete the default baseplate and spawn location.
To add a grass baseplate, we’ll use toolbox. A toolbox has various scripts for pre-made things like grass, sky, rainbow, even a car!
To use the toolbox, go to the View menu and select Toolbox.
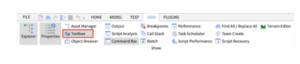
The following window panel will open:
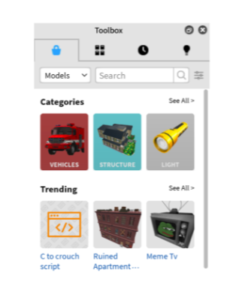
Since we want a model of grass, we will select Model from the dropdown menu.
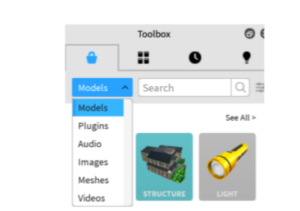
Now we’ll search for ‘grass baseplate’ in the toolbox.
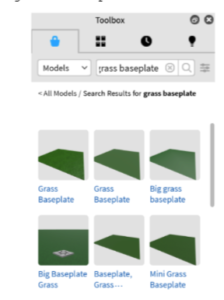
We’ll select the desired grass baseplate and drag and drop it on our scene.

Now for the fun part, let’s start by adding a house. To do that, go to the toolbox again and search for a house model.
PS: Make sure to choose a model and not an image since we want the house to be 3D.
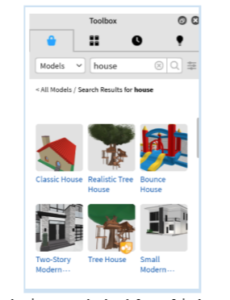
Choose a house of your choice and double click on it.
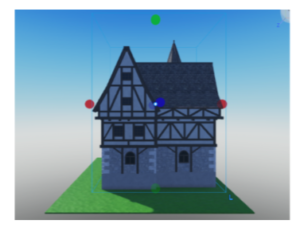
Now scale and position.
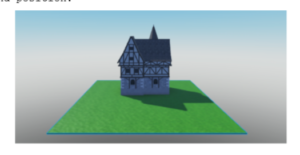
Now similarly, add your choice of elements like:
- Fence
- Gates
- Cars
- Trees
- Stones
- Fountains
- A pet
These are just a few suggestions. Go ahead and use your creativity to make your own dream house.